Aftermarket bumper repair revitalizes damaged car bumpers using specialized materials like fiberglass and composite resins. While DIY enthusiasts can attempt this to save costs, challenges include matching original paint, proper preparation, and adherence to best practices. Key steps include thorough cleaning, using high-quality products, meticulous sanding, and following manufacturer curing guidelines for a seamless, durable repair.
“In the world of automotive aesthetics, aftermarket bumper repairs offer a cost-effective way to restore your vehicle’s front or rear guard. However, DIY enthusiasts often encounter errors that can mar the final result. This article guides you through the process, starting with understanding the basics of aftermarket bumper repair and highlighting common mistakes to avoid. We provide best practices for successful applications, ensuring your DIY project yields a flawless finish.”
- Understanding Aftermarket Bumper Repair Basics
- Common DIY Mistakes to Avoid
- Best Practices for Successful Applications
Understanding Aftermarket Bumper Repair Basics

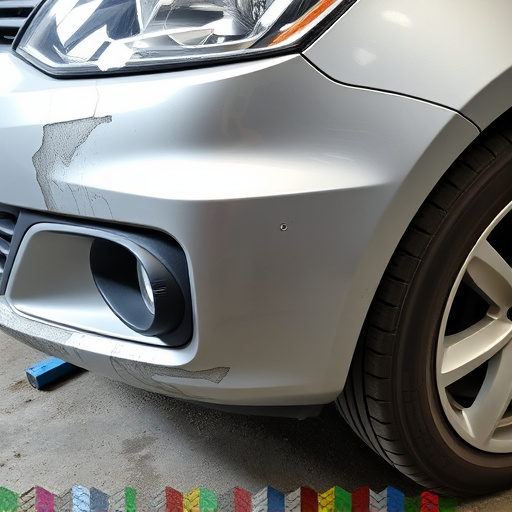
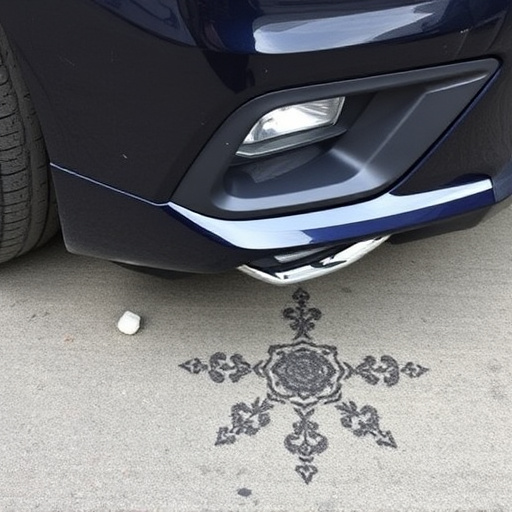
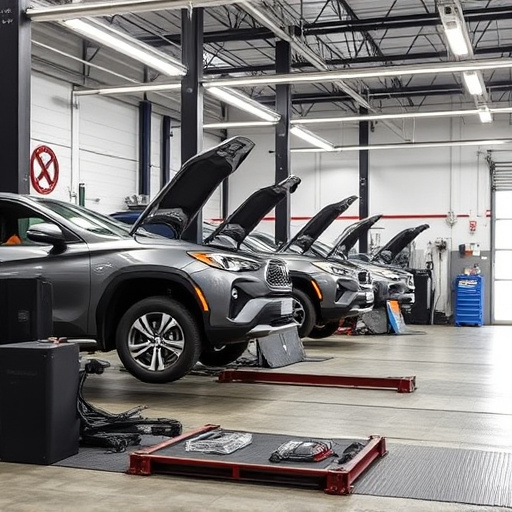
Aftermarket bumper repair is a specialized process designed to restore damaged or degraded car bumpers to their original condition. It involves the careful application of specialized materials and techniques to fix cracks, dents, and other cosmetic issues that may have resulted from collisions or everyday wear and tear. Understanding the basics of this process is crucial for anyone considering DIY repairs versus professional auto body repairs.
The first step in aftermarket bumper repair typically includes assessing the extent of collision damage or decay. This involves inspecting the bumper for cracks, holes, or other defects. Once identified, the damaged area is thoroughly cleaned and prepared to ensure proper adhesion of the repair material. Common materials used include fiberglass, plastic, and composite resins, which are molded or pressed into place to fill gaps and imperfections. The process may also involve priming and painting to match the vehicle’s original finish, ensuring seamless integration with the rest of the car’s exterior.
Common DIY Mistakes to Avoid

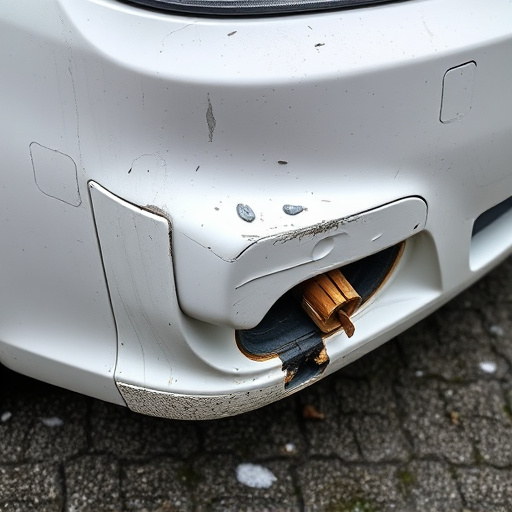
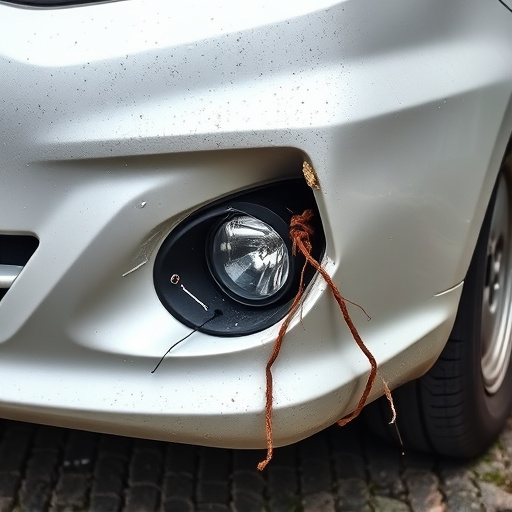
DIY enthusiasts often take on aftermarket bumper repair projects to save costs, but many fall into common pitfalls that can compromise the final results. One of the biggest mistakes is attempting to match the original paint perfectly without proper training or equipment. DIYers might not have access to professional-grade paints and tools, leading to visible imperfections in the final repair.
Another frequent error is skipping important preparation steps, such as thoroughly cleaning and decontaminating the dented area of the car’s bodywork. Dust, grease, and other residues can hinder adhesion, resulting in a less durable fix. Additionally, rushing the process or cutting corners on safety measures can lead to structural damage or unsafe driving conditions. It’s crucial to invest time in learning proper techniques and gathering the right materials for successful and safe aftermarket bumper repair.
Best Practices for Successful Applications
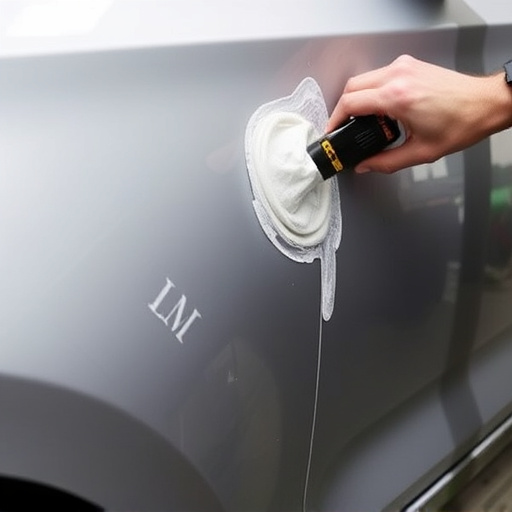
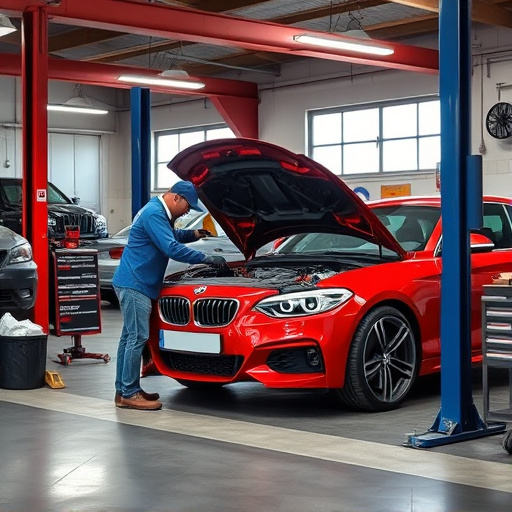
When it comes to aftermarket bumper repair applications, adhering to best practices ensures a seamless and effective restoration process. Prioritize using high-quality products designed specifically for such repairs; generic automotive paints and fillers may not provide adequate coverage or durability. Proper preparation is key; thoroughly clean and sand the damaged area to ensure optimal adhesion. This involves removing any dirt, grease, or old paint debris.
For a successful application, consider the environment in which you’re working. A well-ventilated space is essential due to the chemicals involved in auto painting. Additionally, ensuring proper lighting allows for precise work during the repair process, especially when dealing with intricate luxury vehicle repair tasks. Following manufacturer guidelines for drying and curing times will also contribute to a long-lasting, high-quality finish, making your aftermarket bumper repair an impressive one.
When undertaking aftermarket bumper repair, avoiding common DIY errors is key to achieving a quality, durable finish. By understanding basic repair principles and adhering to best practices, you can ensure your vehicle’s bumper looks as good as new. Remember, taking the time to prepare the surface properly, using the right tools and materials, and following instructions closely will significantly reduce the risk of mistakes that could compromise the integrity of your aftermarket bumper repair job.